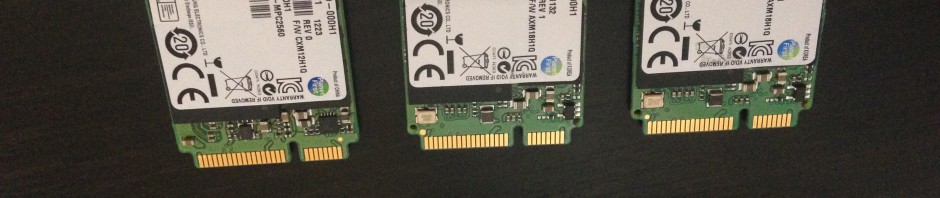
Today I received the 3 mSATA drives I bought from eBay with some NCAA tournament winnings. I got the cheapest mSATA drives I could find which ended up being 32 GB Samsung disks for $25 each with free shipping. I think they were produced for either a Thinkpad or HP laptop but it does not matter, they are standard mSATA and seem to work great. I had 3 old laptop (non-SSD) hard drives laying around the house (what person working in IT doesn’t?), so those were free but you can probably get 80-120 GB laptop SATA disk real cheap on eBay or Craigslist. I now have a VSAN config that works great so far. I would like to add another Gig-E switch to the cluster and use the 2nd NIC in each host for VSAN traffic but I have to search around for a good deal on craigslist or ebay. 🙂
So, here is what I did and there are some pictures as well so you can see what things look like (if you care). Please remember, this is for TESTING purposes, there is no way you should use this kind of setup in a production environment of any sort! I am a VMware employee but this is a blog post about a personal lab and no-one should expect VMware (or anyone else) to support a configuration like this.
1. vMotion the VM’s off of the ESXi host, put it in maintenance mode and then power off the ESXi host.
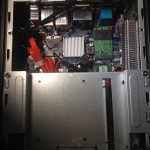
2. Install the mSATA disk and the SATA (non-SSD) disk and power the host back up.
3. Once the host shows up in vCenter take it out of maintenance mode and repeat the process with the other hosts in the cluster.
4. Once all the hardware work is done, verify you can see the newly installed disk in each host.
* Note, some of the old drives I used had existing filesystems on them. Before I could use them in the VSAN cluster, I had to format them with VMFS then delete them from the host inventory. Once I did that, everything went smoothly. *
5. Enable VSAN traffic on your VMkernel adapters on all ESXi hosts that will take part in the VSAN cluster.
6. Add your VSAN license, if you dont have one it should default to a 30 trial license.
7. In the settings section of the Manage tab in the cluster properties, enable VSAN. You will be presented an option to automagically pull in all available disk or do it manually. I selected the manual method but the auto method should work fine too. Just be sure to review what is being imported to make sure you don’t use the wrong disk accidentally.
8. Use your new VSAN disk! As you can see in the attached screenshot of a storage vMotion, the VSAN datastore shows up as an available datastore.
Enjoy!
-
- 3 mSATA SSD Disks
-
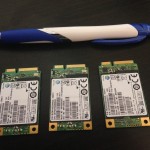
- mSATA SSD
-
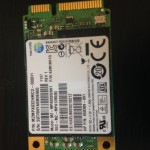
- mSATA SSD installed
-
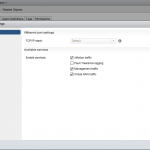
- VSAN Traffic
-
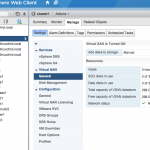
- VSAN General Settings
-
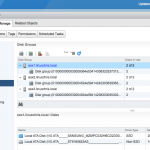
- VSAN Disk Settings
-
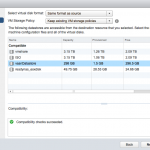
- Storage vMotion to VSAN